To install an SSL certificate on cPanel you can follow the following steps
- Step 1
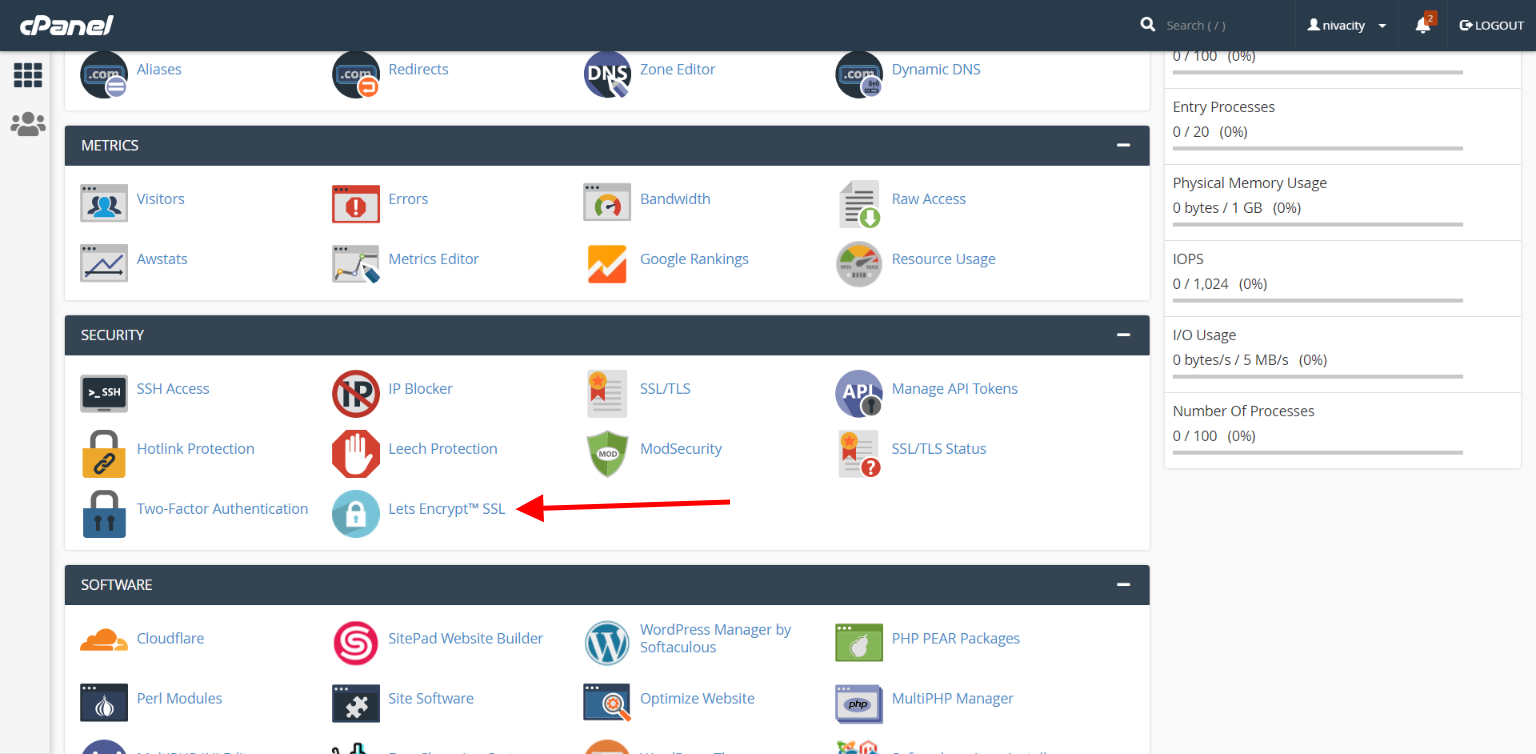
Log into cPanel , you can do this by using a url like https://yourdomain.com/cpanel (replacing yourdomainname.com with your actual domain name) - Once logged in navigate down to Lets Encrypt SSL which is found under the security tab as per the image below
-
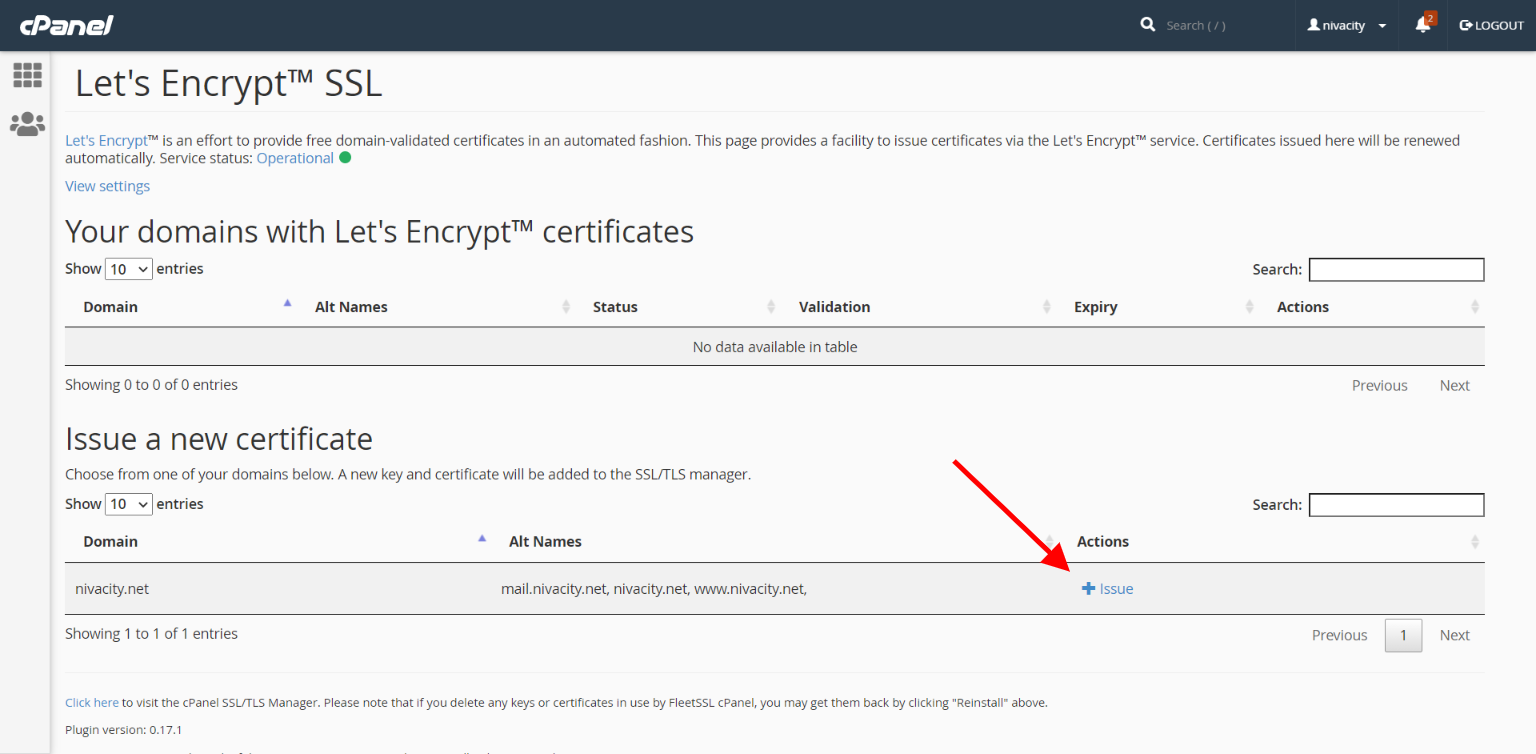
From there you can select a the domain name you want to install an SSL certificate for and click issue.
-
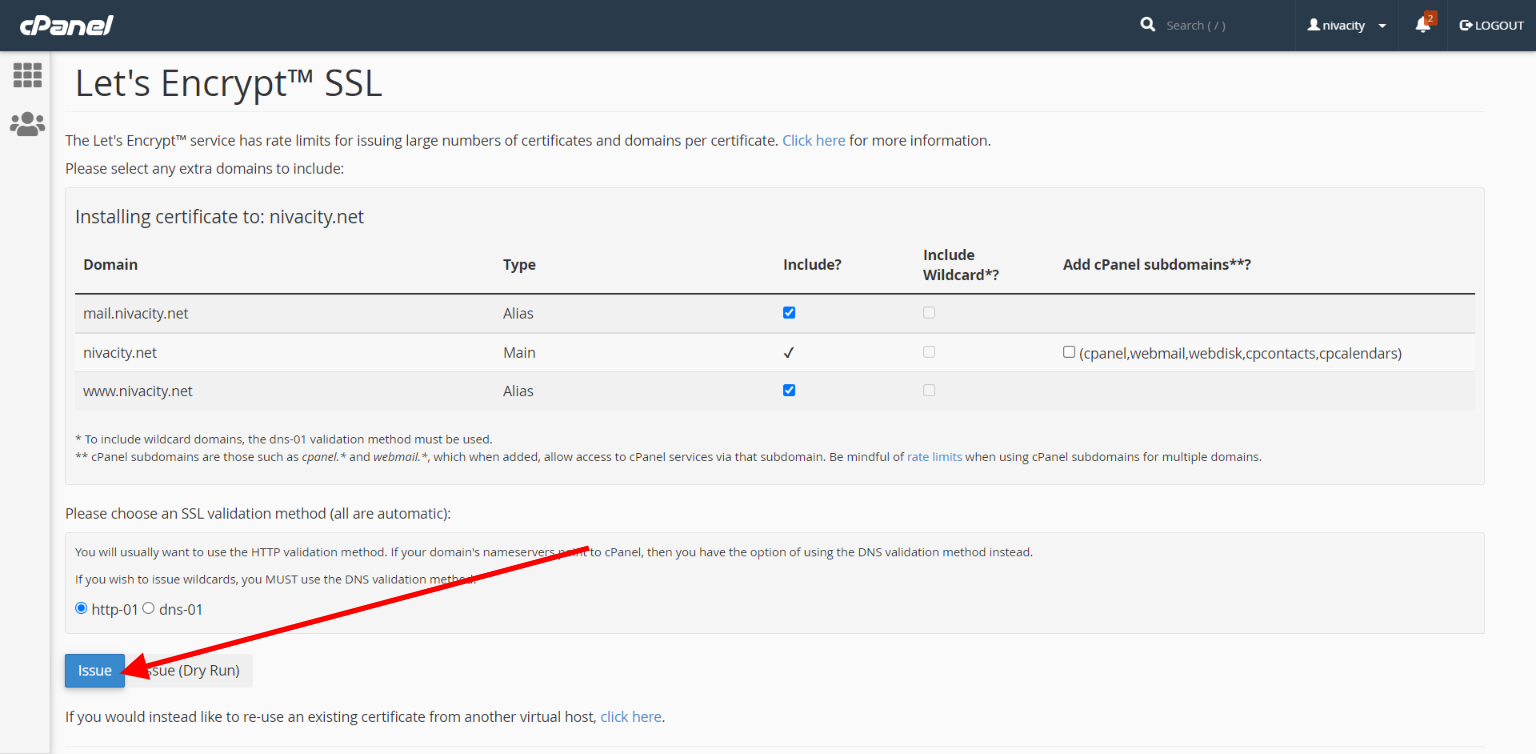
On the next page select the subdomains that you want the SSL to be applicable to if you want to be applicable to then click “issue”
After that you will get a message that says “The SSL certificate is now installed onto the domain “domain.com” using the IP address “123.456.789.1223”. Apache is restarting in the background.
After this your SSL certificate will be installed.
If you want all connections to be routed through SSL please follow the following options.
Go back to the cPanel homepage
- Scroll down to Domains
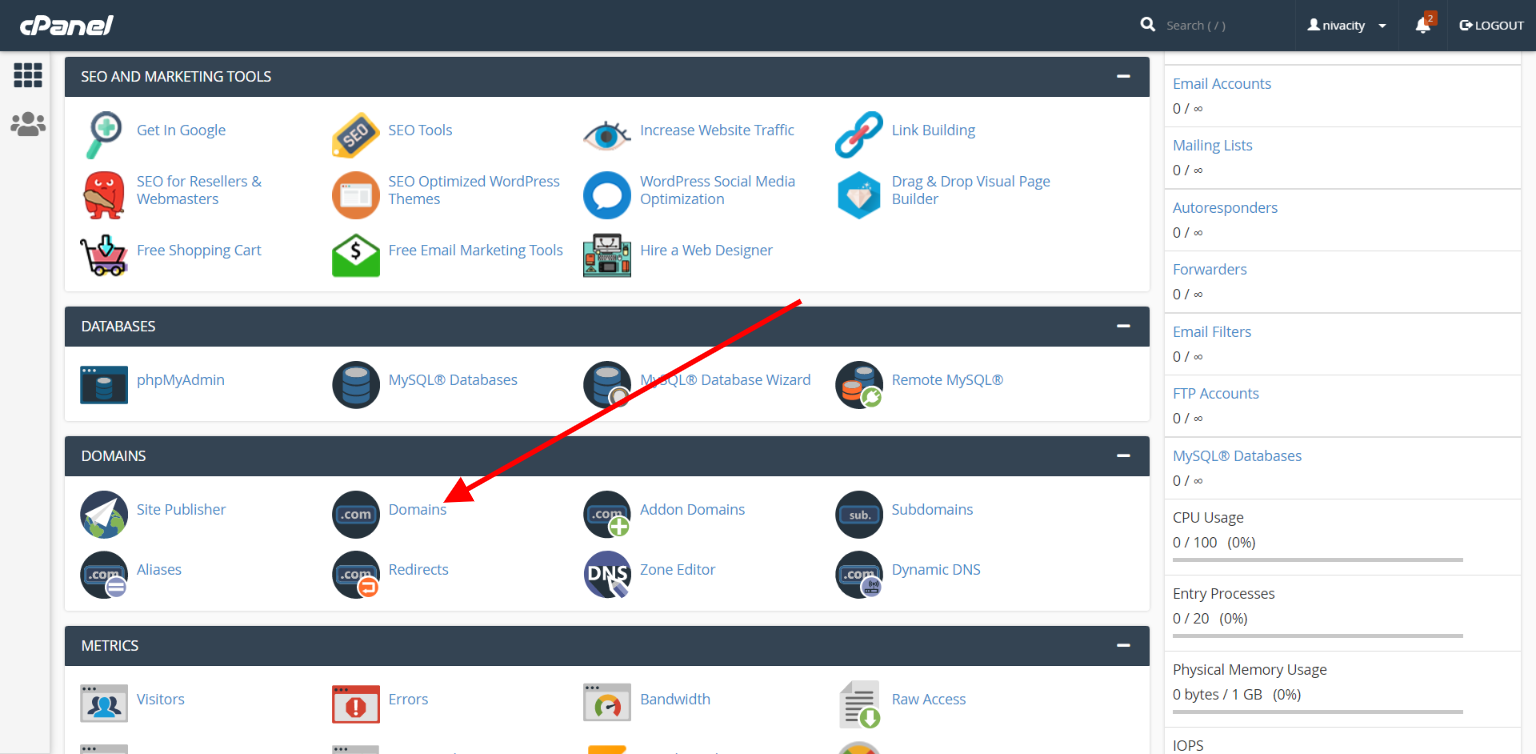
- Then from there on the domain name that you want to force it on slide the button that says “Force HTTPS redirect” from OFF to ON
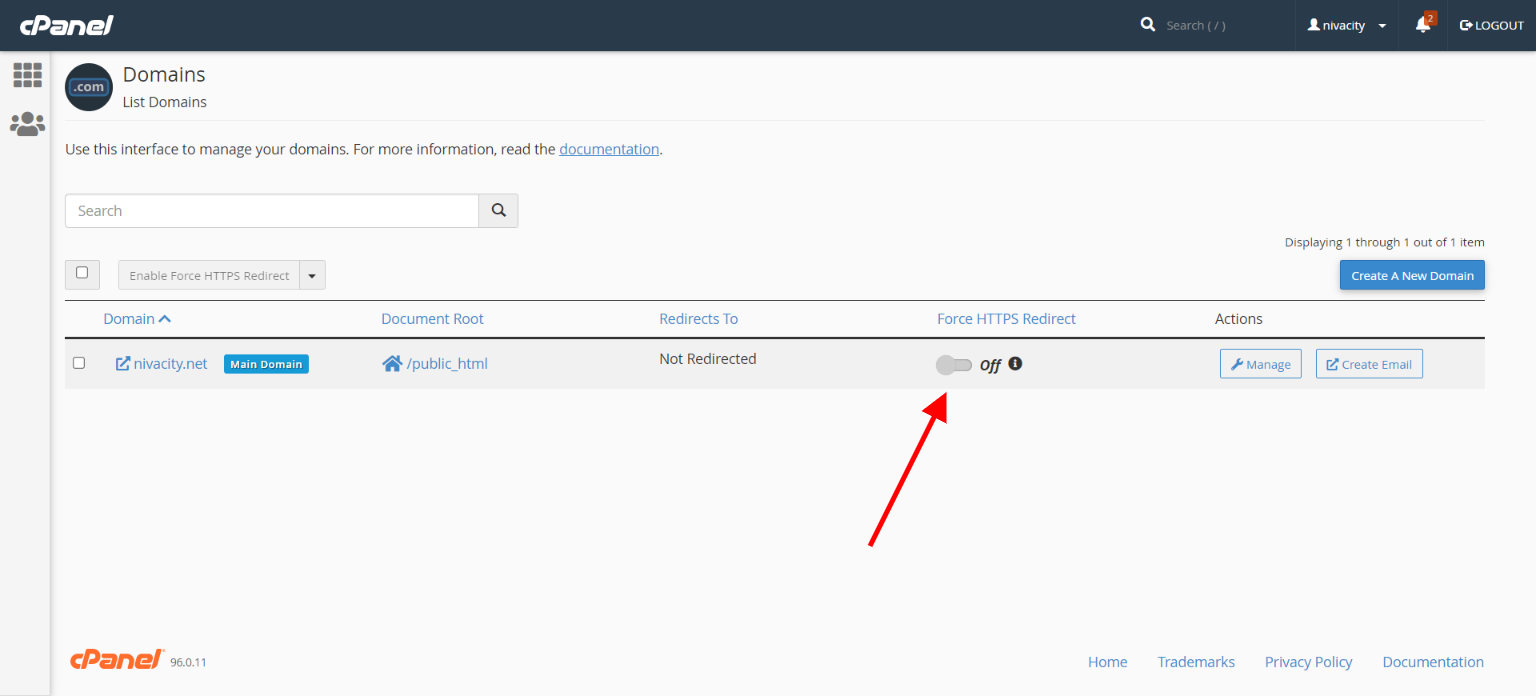
And that’s it, all connections will now be served via https and will show as secure on a browser.


